Showing posts with label dummy. Show all posts

Thursday, October 4, 2012

Illmasqua Rubber Finish Nail Varnish Swatch and Review

Hola chicas! Okay...now that we've exhausted my Spanish vocabulary, on to the mani! What can I say about Illmasqua Rubber Finish Nail Varnish? Well a lot since I like to hear myself talk! The first thing I love about these are the amazing colors and the one that caught my eye first was the beauty in this review - Prosperity! This is a beautiful, blue-based royal purple. The other thing is that this polish has an incredibly unique rubber-like finish that isn't like any polish I've ever seen. It goes on very smoothly, evens out really nicely and dries very quickly! In these photos I have just ONE coat and no top coat!
 
Oh yeah, and my apology this time is going to have to be for my yellow skin in these pics. No matter what lighting I used for this polish I could NOT get the color to photograph, it kept coming up blue so I had to do the color correcting after the fact to show the true color of the polish and my skin looks yellow as a result!
Illmasqua Prosperity


Illmasqua Prosperity
Okay, now let's move on to what drives me so nuts about this polish. What kind of top coat do you use with a rubber finish polish? None was my immediate first thought. Well, I tried that and boy does this polish chip fast! So I tried both a matte and a regular top coat and both of them changed the effect of this polish so it was kind of like, what's the point? To show you what I mean I did a side-by-side comparison of the different finishes. 
Illmasqua Rubber Finish Prosperity

My middle finger is with no top coat, just the yummy Illmasqua polish. Then on my middle finger is the matte top coat. Notice how it dulls the rubbery shine and it looks kind of streaky? Yeah, not cool! Then on the pinky is the regular top coat which completely destroys the rubber effect. It's really pretty when it's shiny but just not the same!
So do I think this polish is worth it? Yeah, I'd have to say that I love it even though I'm not quite sure what to do with it (kind of like my kids!) I don't know that I'd buy a whole bunch of these but I really like owning at least one, it's something new for my stash!



Wednesday, October 3, 2012

My First Gradient Mani

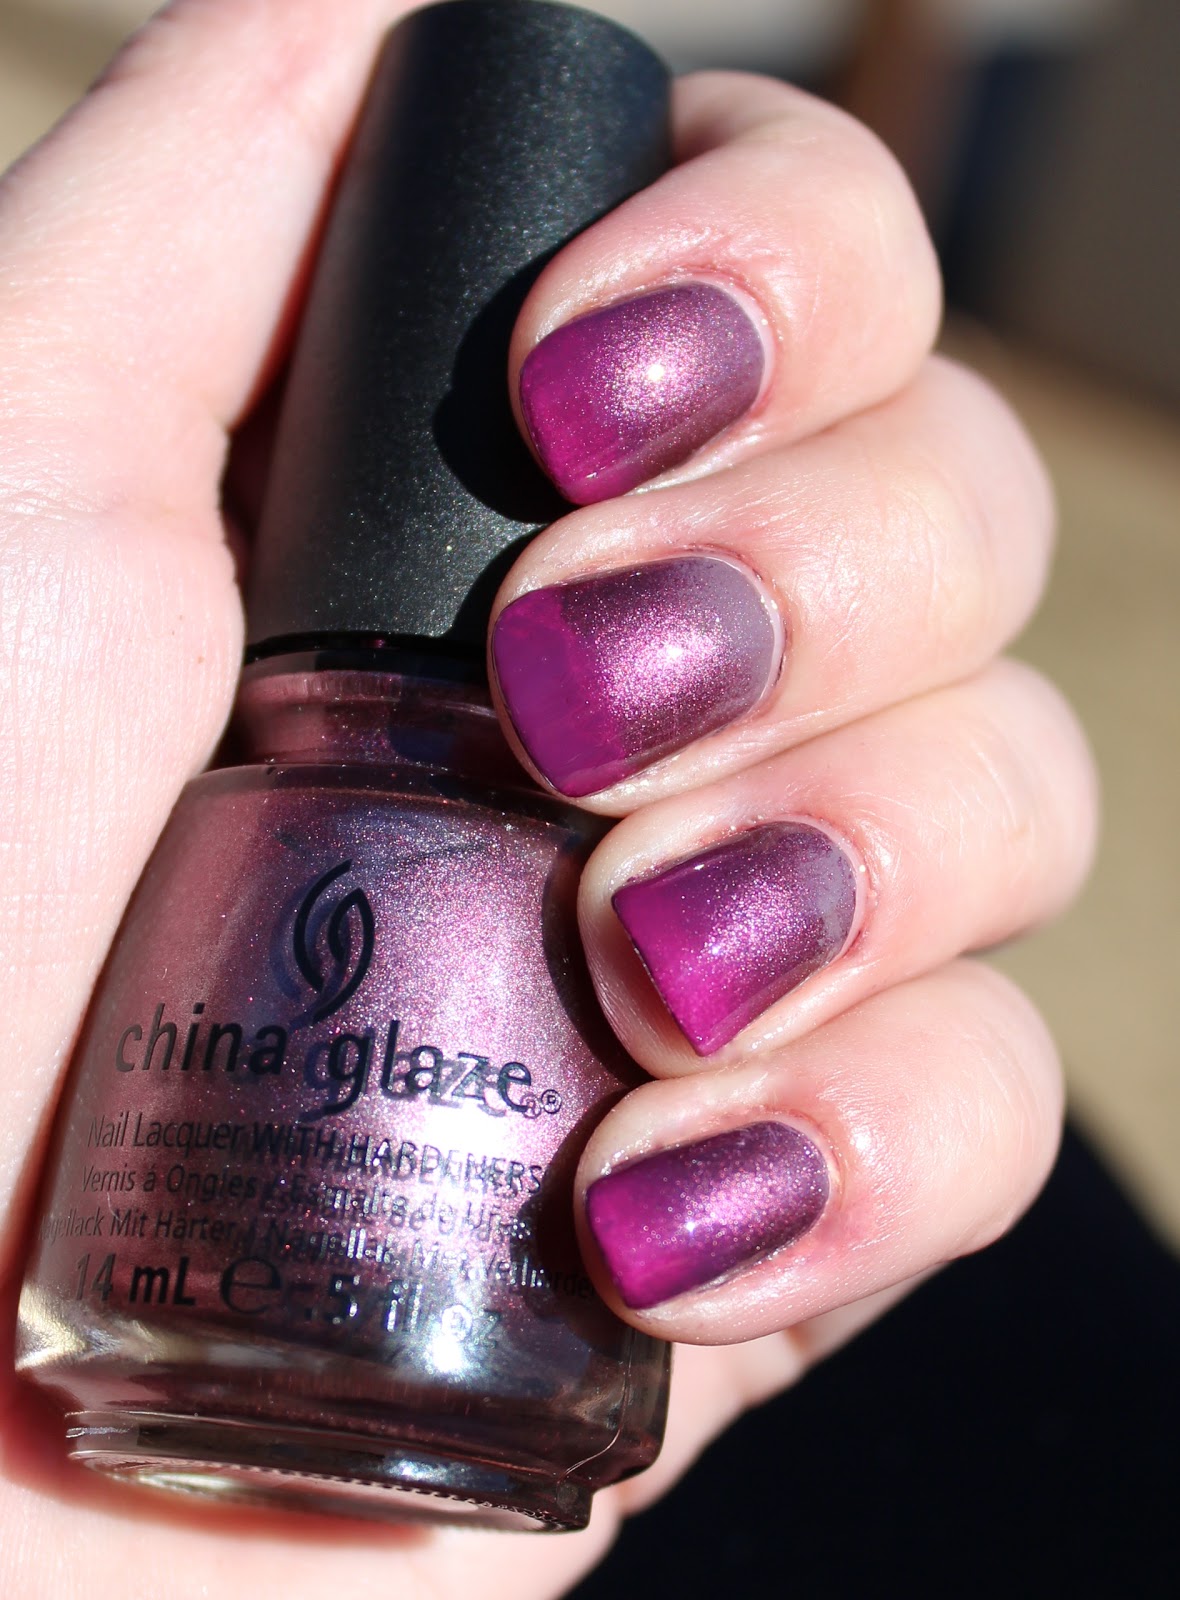
I decided to be brave and try one of the more "scary" nail trends out there right now! For me, this one ranked right up there, just a titch (yes, titch!) below a water marble but I thought to myself, it's just paint, I can remove it if it's bad! So I forged on ahead!

I think I did pretty dang good for my first try! The only thing I will apologize for this time is on my middle finger I had an oopsie and I should have fixed it with the sponge but I wasn't thinking and used the brush. So you can see that finger is a little messed up!

I painted a white pase using OPI Alpine Snow. As soon as I went to clean up the mani I realized my mistake in doing this. it was hard to clean up the edges of the mani and not have a tiny bit of white peeking out so next time I will use one of the gradient colors as the base - duh! See, I told you this was Nails 4 Dummies!

Anywho, on to the good stuff! The colors I used for the gradient were China Glaze Below Deck and Joy and then that's Lancome Midnight Rose at the tips. I painted the polish directly onto a makeup sponge which I had cut down for not only manageablity but so I could get more than one mani out of it! Then I dabbed it onto my taped-off finger. After it dried I went back over it again and then topped it off with my new, non-bubble-inducing top coat, Sally Hansen Insta-Dry Top Coat which I am loving right now! In case you're wondering I used the same little bit of sponge for all 8 fingers and 2 thumbs and both coats as well! Here's the non-perfect but completely satisfactory photos!

In 'da sun!
mauve purple gradient mani

 mauve purple gradient mani
 
In 'da shade
mauve purple gradient mani
 
Trust me, if I could do this good on my first try, you can do it too, give it a try!!!

Wednesday, September 26, 2012

Lancome Rose Boudoir Swatch and Review

Hello sweetpeas! I had the best nail mail day yesterday and got all kinds of new polishes that I've never tried! It was really hard for me to choose so Aneela from Rise and Shine Beauty suggested I try the Lancome Rose Boudoir and that solved that! :)

I was instantly in love with this polish. I've always loved Lancome's cosmetics but this was my first time trying their polish - it certainly didn't disappoint! It applied like a dream and was smooth and even on the first coat. I used to coats for more opacity. You can still see a VNL in the photos but I really didn't care! This polish was a gorgeous pink/red creamy shade and it was so beautiful! I normally only spend half this amount on polish but this stuff was so worth it! :) Ignore the bubbles, those are due to my really thick top coat - I need to go shopping for a new one!

This shot was taken in the shade, the color ended up being darker than I imagined but I really love it!
Lancome Rose Boudoir swatch
 

This was indirect sunlight which brightens the color up a little and brings out the pink!
Lancome Rose Boudoir swatch
 

This polish gets a 9 from me. The only thing that would make it a 10 was if it could reach full opacity in 1 coat! What do you guys thing, would you wear this? Oh, and here are pics of my haul from yesterday and I still have more coming! :o

Nail mail haul


Nail mail haul


Tuesday, September 25, 2012

Acrylic Paint Splatter Mani

Hello my fellow polish addicts! I'm so excited to share my mani with you today because it was so much fun to do and I think it turned out pretty good! I've been loving the paint splatter technique and finally decided that I was brave enough to try it! I wanted to use acrylic paint rather than polish though because of several reasons. Acrylic paint is much cheaper, it dries flatter and it washes off with water so if you mess up a nail you can just rinse it off and start over! Then when you're done with the mani and your top coat is dry you can just wash the mess (and there WILL be a mess!) off your skin - no acetone! With as dry as it's been around here I can use all the help I can get!


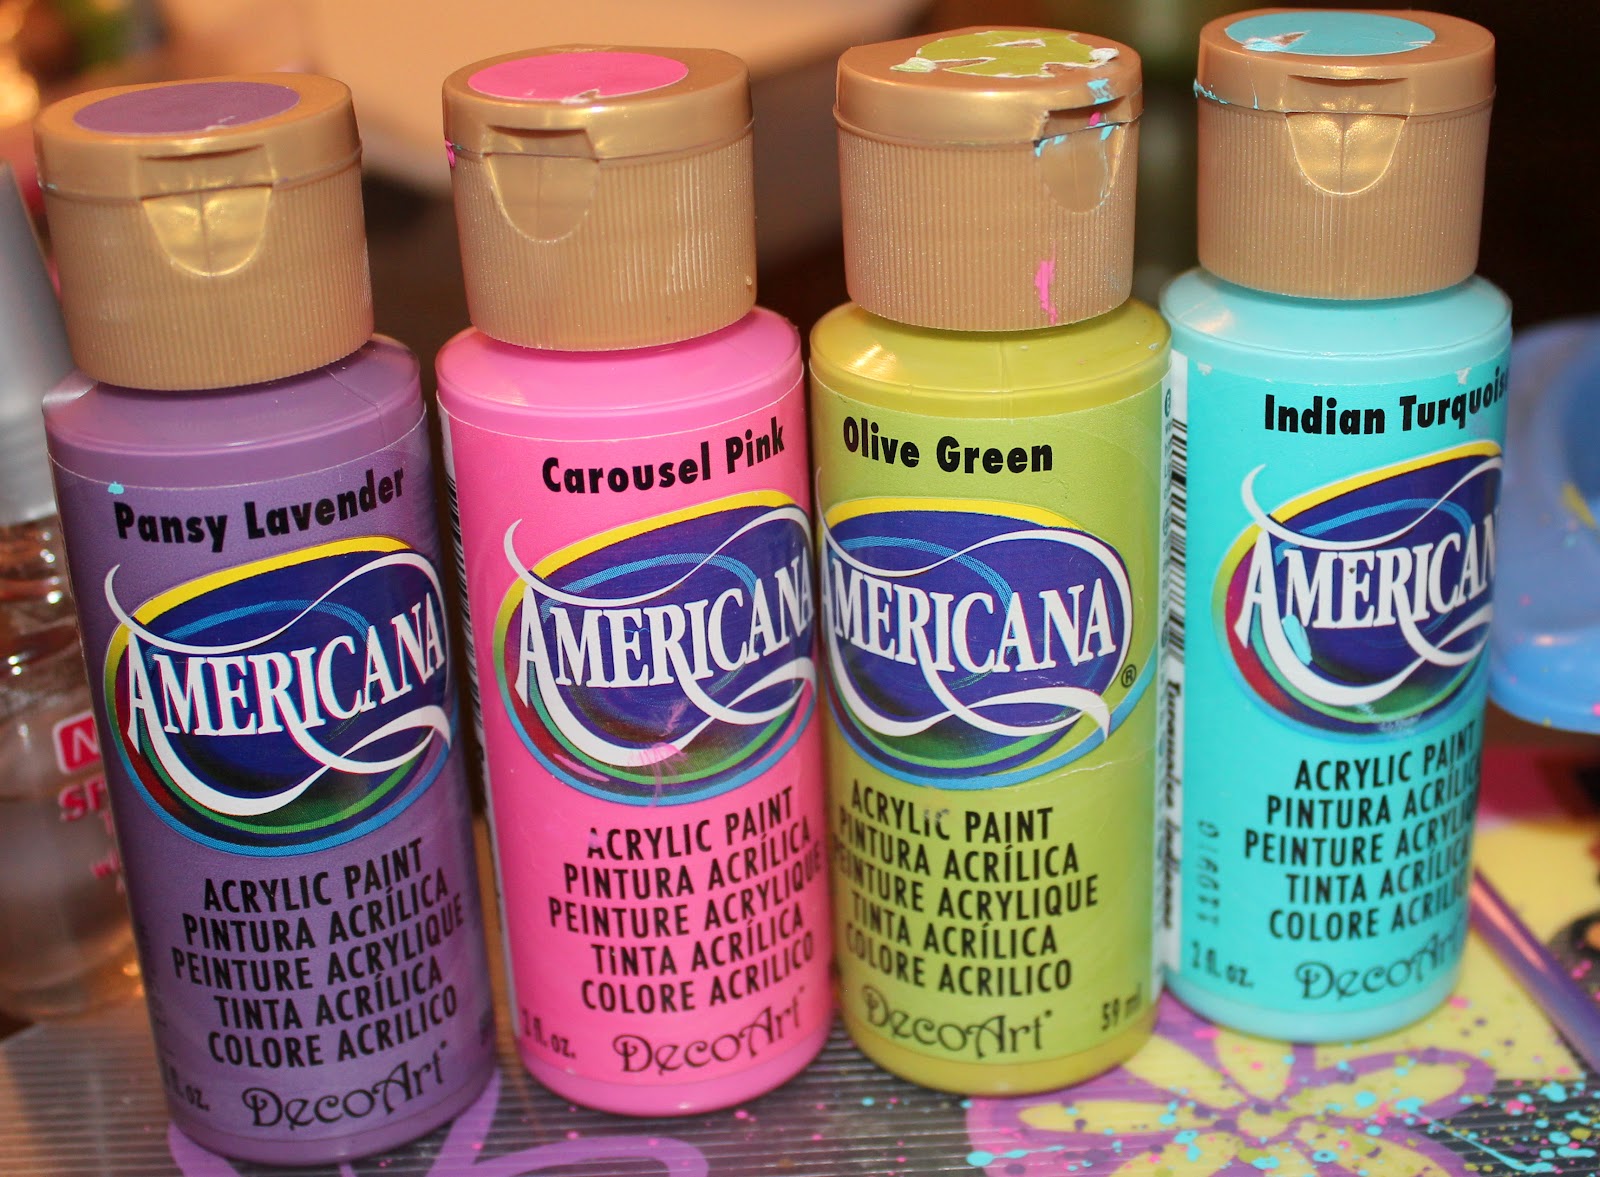
I used OPI Alpine Snow for a base coat. Then I just put a small bit of paint in an old ice cube tray and add a few drops of water to thin it out. Then use a regular paint brush and hold it over your nails and tap it until you like the way it looks. Wait until the acrylic paint is dry before attempting a top coat - I learned this the hard way!! It will smear all over the place and you will have some funky looking nails! Here are my instruments of torture:

acrylic paint for splatter nails

paint splatter nails tools

Here is the awesome mess that I made! You could tape off around your cuticles and that would make the cleanup a little easier if you want but I didn't!!

 
paint splatter mess

And here is the finished product! I'm thinking of making a video on this technique, what do you think, should I? I don't know, maybe paint splatter nails are "over," but I still like them and I never claimed to be fashionable!

Paint splatter nails

 
My next attempt may have to be a water marble but that may be a while off - the idea still scares me a little bit! :)

Monday, September 24, 2012

Metallic Fall Mani and New Toys!

Hey y'all watch this! Okay, totally joking - I'm not that much of a redneck! As Honey Boo-Boo would say, "you'd better redneckenize!"

Can you tell I'm tired? I'll also apologize in advance for all the bubbles in this mani. I was doing it very late last night and trying to get it done before the baby had a fit so I was putting on thick coats and not waiting for them to dry!

I don't normally do fall colors - I'm much more apt to wear summer colors all year long! This time around though, I was inspired by all of the beautiful Fall manis I've been seeing. I actually had to buy some fall colors just for this mani because I only owned a couple and they weren't what I was looking for. Since I have a ton of polish coming in the mail I made myself stick to some cheaper polishes so I got these four from Pure Ice:
Pure Ice nail polish
 
They are Magic, Jaguar, Electric! and Purple Reign. It's my first time using this brand and I'm not sure what to think. It went on beautifully but the brushes, especially in the Magic was really crappy. The bristles were stiff and they were all smashed up in this one. Then it took forever to dry. I don't know if that was because I was impatient or if it is really that slow! Of course I'm used to fast-dry polishes so that didn't help!

For this mani I used 3 coats of Jaguar as the base and then I used the stencil technique found here on Chalkboard Nails and it worked like magic! I don't know why I didn't think of using painters tape before - DUH! The accent finger is waaay to many coats of Traffic Stopper Copper from Sephora by OPI. I kept trying to cover this one bald spot on the nail so I have like 4 coats and that was waaay too much but it looks pretty cool!


I was so excited because I found these 5 paper punches for $.96 each at Wal-something or other. I've  got all kinds of ideas for them, muahahahaha!


What do you guys think, is this one a success? Also, I want to know, what is your favorite white polish? I'm looking for something decent that doesn't take 4 perfectly applied coats to use as a base!

Saturday, September 22, 2012

Pink and Grey Mani!

Hey everyone! How is your Saturday going so far? I got to sleep all the way in until 7:45 :/ Oh well, I can sleep when I'm dead and I have a lot to do today! I finally did a mani that I'm really pretty stinking proud of! It took me forever because I kept smudging it but I was able to rescue it every time. When I woke up this morning it had shrunk on my nails so I had to redo the tips and top coat it again. I think it happened because I forgot a base coat - won't be doing that again! I used some nail guides, stencils and rhinestones I got in this mini-haul:
Mini haul - nail art

Mini haul - nail art
The stencil worked great but there's only one of each image and I don't think you could use it 10 times, I used mine twice and the polish was getting built up. You might be able to make it work if you were very careful but the acetone I tried to clean it with ruined the stencil!
 
Anywho - on to my mani! For this one I used 3 coats of Wet n Wild Tickled Pink - I really like this color, it's so soft and pretty! Then for the accents I used Essie Merino Cool. It's a gorgeous grey/brown color and the only Essie I own until my shipments gets here! So, without further ado, here are the pics - sorry if there are a ton, mama is proud of her baby!

Pink and grey maniPink and grey mani
 

Are those pictures obnoxiously large? I'm never quite sure!  Let me know what you think, good or bad I luvs me sum comments!
 
Stay tuned because I have a huge haul coming in from Amazon, Sephora and TransDesigns. There are 14 bottles of polish, dotting tools and the 2012 Mash plates on their way, YAY!

Thursday, September 20, 2012

Dot Mani - My First Attempt

Today I'm bringing you another mani to laugh at! This is actually my best so far so I'm actually kind of proud of it - HA! Since some of the dots ran together I'm almost tempted to call it a "blob mani!" I think Blob is the slovenly cousin of Dot over at YoungWildAndPolished. If you check the link you will see what a pretty dot mani looks like!

I had actually tried about 3 other manis before this. I'm not sure if I'm actually happy with it or if I was just tired of trying! So here you go...your joke of the day!
Dot Mani
Let me just make an excuse for myself - I realized after I was done doing this that the end of the paintbrush I was using as a dotting tool had a little sliver of plastic sticking out so it wasn't completely round. There, that explains it, right?
 
All three polishes were Wet n Wild Megalast and they were I Need A Refresh-Mint, On A Trip and Through The Grapevine. I absolutely love these three colors, especially together. I want to do a splatter mani with them, or maybe a water marble, but I'm not there skill-wise yet!

Wednesday, September 19, 2012

Too Much Acetone!

Mah nails, they are a-changin'! Ugh I think I painted my nails 4 times today! I would get the base on and it would look really nice but then I would try to add some nail art of some sort and I would totally botch the whole mani even though I had a topcoat on the base, I just got frustrated and removed it all! My hands have had enough of acetone for a few hours at least! I eventually gave up and went with a base and glitter mani, lol! I actually think it turned out pretty cool, what do you think?

When I saw this Pinky Glitter by Sinful Colors in Walgreens, I had to have it - I mean, it was pink and glitter, what else can a girl ask for??
 
Sinful Colors - Pinky Glitter


So I was expecting that when I painted it over the black Sally Hansen Black Heart base that I would get a mostly pink shimmer. Imagine my surprise when this is what I got...
glitter mani


I apologize for the black on my cuticles - it would NOT come off!!
After I photographed the bottle and checked out the macro, it made more sense but still, where did all that pink go? Now I'm curious to try it over some other colors! Here's the macro shot if you're curious! :)
 
Oh, and hey! I finally got my Twitter account set up so come on over and follow me there or at bloglovin' too!!!! I need your validation to feel good about myself! HA!
 

Tuesday, September 18, 2012

Wet n Wild Megalast Swatch and Review

So this time around I actually took my time painting my nails and it certainly turned out better. I know it's faaaaar from great, but I'll get there one TINY bit at a time! One of my biggest problems is that I end up putting the polish on way too thick - I think that's why I ended up with bubbles. :( After I took these photos I tried desperately to do some stamping on them too but that just ended in an acetone bath for my nails! I should have taken photos of the disaster so you would have something to laugh at today! I'd like to think that everyone of you started off this badly but even I'm not that big of a dummy!

The photos turned out decent, they show the true color of he polish. I just wish I didn't have topcoat all over my cuticle!

Wet n Wild Megalast - Through The Grapevine

Wet n Wild Megalast - Through The Grapevine
This was Wet n Wild Megalast Through The Grapevine. It went on really nicely and this was only 1 coat! I do adore a nice creme polish! They also have a new, wide professional brush that I'm really diggin'! It's tapered at the end to help you get a nice curve at the cuticle. For $2 this was an exceptional polish and I will be trying more from this line! It leveled out very nicely on the nail as well which is something I have trouble with.

Sunday, September 16, 2012

Why Another Nail Blog?

So why, with so many nail blogs out there would I want to create another? Good question! The main reason that I'm doing this is because I love to talk - I love the socialization and since I don't have any friends offline I have to get my fix somewhere! I think I don't have any friends because I'm one of those "lazy friends" that never calls and never asks you to go anywhere or do anything - ha!

Another reason is because I am a chronic cuticle chewer. It's awful! It's actually not technically my cuticles but the skin around my fingernails - gross right? Now you know why I don't have any friends! Look at this ~
chewed up cuticles

chewed up thumb
 
~ and that's actually good compared to what it has been! I'm hoping that posting pictures of my hands on the net wil force me to stop trying to eat them!
 
Also, I have been incredibly inspired by some other beautiful nail blogs recently and I kept thinking to myself, "I want to be part of that group!!!" So you would assume that I have some artistic talent, right? You, my friend, would be wrong! In fact, last time I painted my nails I made one heck of a mess but I keep trying anyway and I love all of the pretty colors!
 
Now you might understand the name of the blog because by now you're probably thinking, "wow...this chick's an idiot!" I hope not!!! Actually I was hoping that I could take you all on this journey with me and make it an interactive thingamajig!
 
So, please, leave me some comments and let me know if there's anything you'd like to see this dummy try with her nails. I've currently started a regimine of Nail Magic to harden my nails, Burt's Bees Cuticle Balm to try and soften up my ragged cuticles and Burt's Bees Almond Milk Beeswax Hand Cream to make my skin all soft and nice!
 
Stay tuned very soon for pictures of my tiny stash! I'm taking inventory now so that I can see how bad my obsession gets! Because, unfortunately, I'm like a magpie and every time I see a new polish I'm like, Ooh, shiny! The only thing that stops me from having a massive collection is because I'm a broke mother of 4 with bills! :)