Showing posts with label green. Show all posts

Monday, June 24, 2013

Rockstar Nails

Happy new week everyone! I hope you all had some fun and some relaxation this weekend. I got in a couple of glorious naps! One of them was interrupted by a huge storm that came through with some nasty hail! It was so loud that it woke everyone up and I couldn't figure out what in the world was going in for a while - it was cray-zay!
 
Today's mani uses one of my fave polishes, China Glaze - I'm With The Lifeguard. Isn't it a fabulous green? Then on my ring finger is Jindie Nails - Live Out Loud. I am so in love with everything I have from Jindie Nails - the application is amazing for an indie! I think the little black stars added just the right touch to these nails, what do you think? Do I look cool?
 
Nails4Dummies - Rockstar Nails

Nails4Dummies - Rockstar Nails

Nails4Dummies - Rockstar Nails
 
I don't have time for any more chit-chat *sigh* as I have to get to work. But I hope you all have an absolutely fabulous day!!

Tuesday, October 30, 2012

CUPCAKES!!!!

Hey dolls! Happy It's Not Monday Anymore!!!! When you read the title of this post, you're required to say it in the same voice as Agnes from Despicable Me says this:
 
 It's been a while since I was able to type a post with both hands! I've usually got one arm occupied with a sleeping, squishy, fabulous-smelling baby! So I apologize if I'm a little extra chatty!
 
People that know me fairly well know that I have a serious obsession with all things cupcake! All of the baby clothes and blankets that I got for my baby shower was cupcake-themed and people text me cupcake related stuff and, oh, yeah - I LOVE eating cupcakes too! For some reason they taste better than cake? I think it has something to do with the cake-to-frosting ratio! :) My mom always gets me things like cupcake candles and bath bombs and my husband got me this awesome pair of cupcake jammy pants that I haven't been able to wear because it seems like I'm always roasting hot!
Cupcake nails
Every time I see cupcake nails I drool, literally. It's gross and messy and I really need to stop. XD I'm so hilarious today! I finally gave them a try and I'm fairly pleased with how they turned out for being so new to freehand art and nail art in general! I actually used acrylic paint this time around rather than polish and it was MUCH easier! It didn't get "goopy" as quickly and if you mess up you can just wash it off and start over without having to re-polish the whole nail!
Cupcake nails
I started off with a base color of Julep Olivia and an accent finger of OPI If You Moust You Moust and a couple of coats of NYC Big City Dazzle to add some schparkle! (yes, I realize that isn't how it's spelled, I like to make up words!) Then I painted on the cuppy-cakes and once that was dry I added a healthy dollop of topcoat!
Cupcake nails
Also, PLEASE, enter our contest, The Lazy 15 beginning Nov 2nd, it's going to be a lot of fun! For more deets, check HERE!


Wednesday, October 24, 2012

Tape 'N Dots Fall Mani

Happy Hump Day!!! For those of you that work a M-F this is music to your ears!! We're almost there dolls, just hold on a little longer! After yesterday's mani I decided to keep this one clean and simple. I saw these two polishes next to each other in the display and they go together perfectly!! The green is called The Temptress' Touch and the orange is The Muse's Inspiration, both from L'Oreal. Neither one of these are colors that I would normally wear and I can't say that I'm in love with them but they certainly fit the bill for a Fall mani.
 
I used two coats of The Temptress' Touch then used scotch tape to form the angle and added one thick coat of The Muse's Inspiration. Then I busted out my dotting tools and did dots in alternating colors all the way around the nail. I'm kind of digging how it turned out but I didn't leave it on for long because it's just not my bag, baby!
 
Fall Colors Dotticure

Fall Colors Dotticure
So do you tend to follow the color seasons or do you gravitate towards one or the other? I'm partial to either the super-bright Summer shades or the jewel tones that come with Winter! See you all next time, mwah!

Thursday, October 18, 2012

Hidden Rainbow Mani

Can you believe it? I'm posting again, yayyyy! I had so much fun with this mani. I finally got my striping tape and had to try it out. I also used a cool rainbow effect I found that gives you 6 of the 7 colors of the rainbow (poor, poor indigo!) by only using 3 polishes! WHAT? That's right, if you want to know the secret, check out Simple Little Pleasure's YouTube video. I could seriously lose hours watching this girl do nail art! One of the reasons I love her so much is that she actually talks during her video. I can't stand videos with no talking and awful muzak playing *shudders*!
Hidden Rainbow mani


Hidden Rainbow maniHidden Rainbow mani

The polishes I used are Sally Hansen Complete Salon Manicure Frutti Petutie, Sally Hansen Insta-Dri Lightening, Sally Hansen Insta-Dri Freeze! and Wet 'n Wild Black Creme. after sponging on the rainbow with a tiny piece of makeup sponge (I used a tiny corner for each color), I put down a top coat and let everything dry COMPLETELY! Then I put on some striping tape and put down one thick coat of Black Creme and once I removed the tape I had a gorgeous rainbow! A couple of must-know tips for working with striping tape are to remove the tape immediately after you're done polishing that finger!! Also, it really helped me to have all of my little strips of tape cut and hanging off of the edge of the table ready to go.

I was so ticked off that I fudged up my index finger by bumping it on the table and then my topcoat issues ruined the whole dang thing. I tried to use my gloopy one first and it left big dents and wouldn't spread so I tried my el cheapo Wet 'n Wild topcoat that I got for free to smooth it out, big mistake. That topcoat sucks. It never dries and it isn't very shiny so I was left with a bubbly dull mess, *SIGH*. Oh well, you live and you learn, now I only use that topcoat for applying rhinestones and fimo cane!

Thursday, October 11, 2012

Dots and Waves Mani

Hey pretties! This mani was a lot of fun to do! I used craft scissors and tape for the waves and my trusty dotting tools for the dots - imagine that! I'm not feeling very witty so let's get right to it!

The gorgeous purple is a new color from the Wet 'n Wild Megalast line. This one is called Disturbia. I couldn't quite capture the shimmer in the photos but this is a gorgeous polish! The green is Avon Speed Dry+ in Don't Be Jaded. I love this green, it's minty-colored and awesome!

Here are some pics of just the purple:
Wet 'n Wild Disturbia
 

Wet 'n Wild DisturbiaWet 'n Wild Disturbia


Here's the whole mani, what do you think?
purple and green dots and wavespurple and green dots and waves

Tuesday, September 25, 2012

Acrylic Paint Splatter Mani

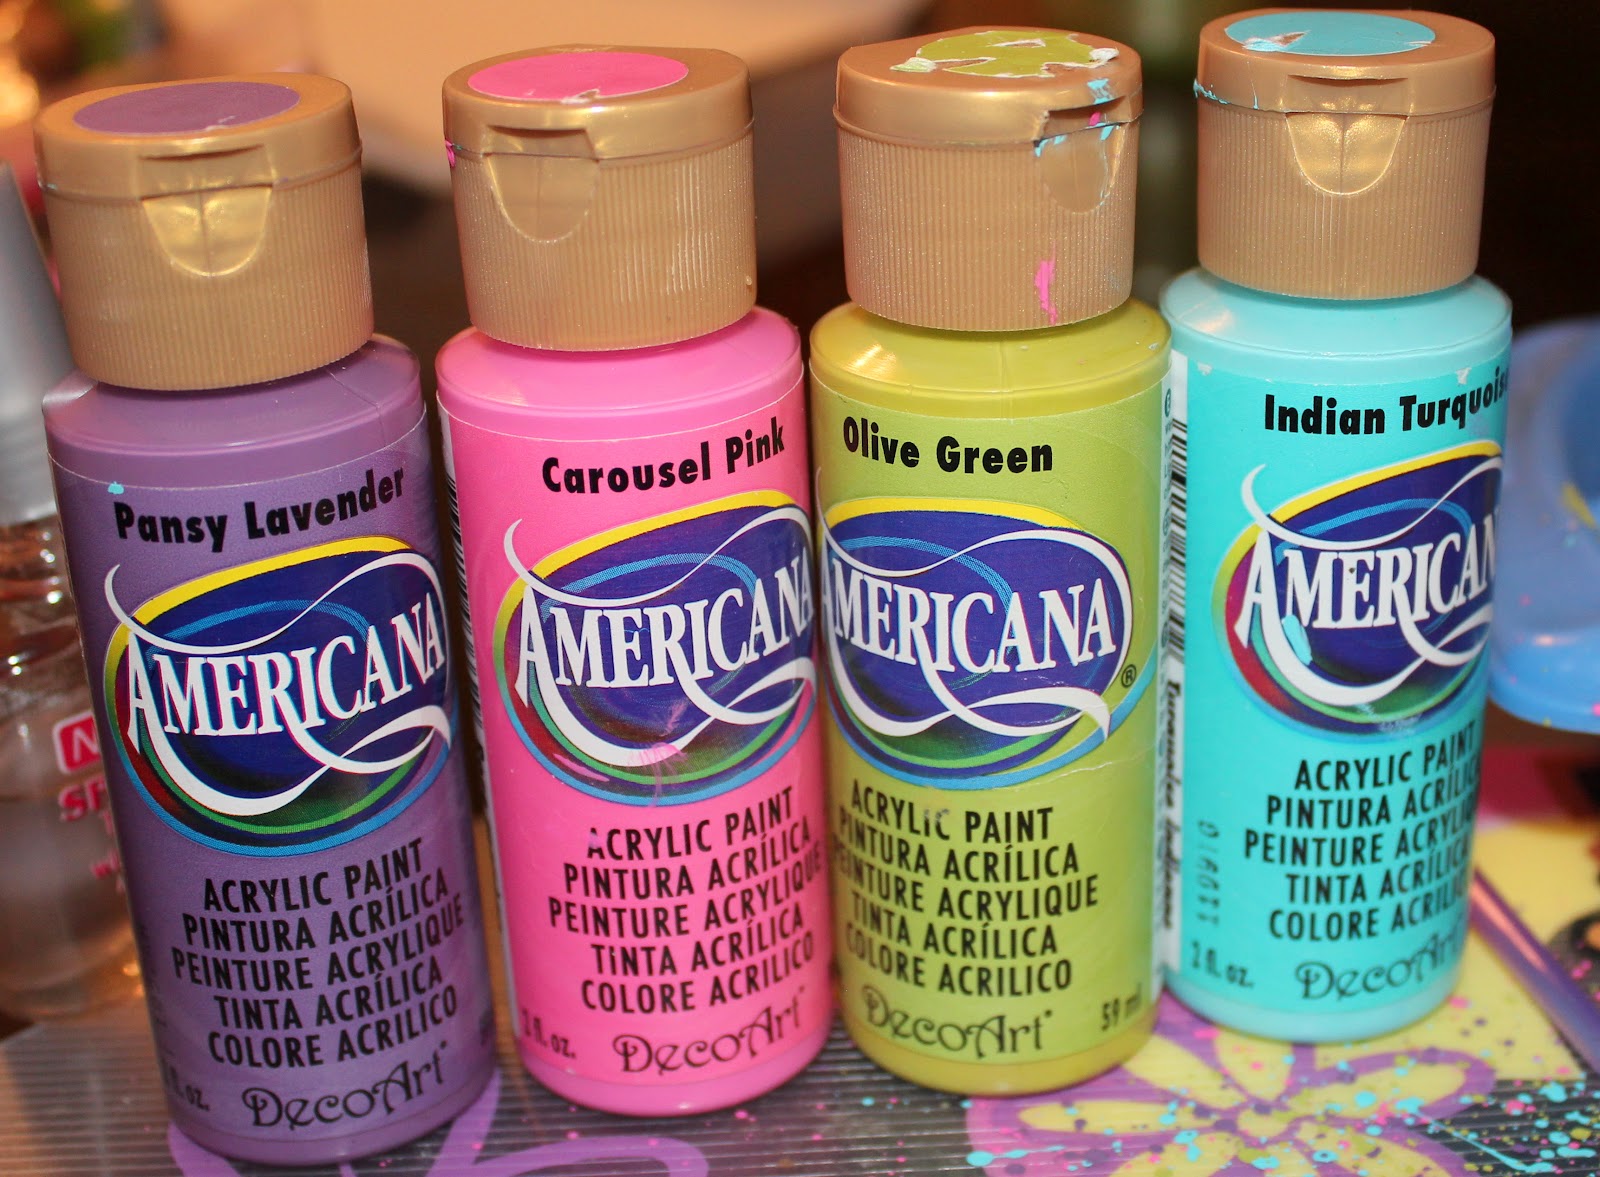
Hello my fellow polish addicts! I'm so excited to share my mani with you today because it was so much fun to do and I think it turned out pretty good! I've been loving the paint splatter technique and finally decided that I was brave enough to try it! I wanted to use acrylic paint rather than polish though because of several reasons. Acrylic paint is much cheaper, it dries flatter and it washes off with water so if you mess up a nail you can just rinse it off and start over! Then when you're done with the mani and your top coat is dry you can just wash the mess (and there WILL be a mess!) off your skin - no acetone! With as dry as it's been around here I can use all the help I can get!


I used OPI Alpine Snow for a base coat. Then I just put a small bit of paint in an old ice cube tray and add a few drops of water to thin it out. Then use a regular paint brush and hold it over your nails and tap it until you like the way it looks. Wait until the acrylic paint is dry before attempting a top coat - I learned this the hard way!! It will smear all over the place and you will have some funky looking nails! Here are my instruments of torture:

acrylic paint for splatter nails

paint splatter nails tools

Here is the awesome mess that I made! You could tape off around your cuticles and that would make the cleanup a little easier if you want but I didn't!!

 
paint splatter mess

And here is the finished product! I'm thinking of making a video on this technique, what do you think, should I? I don't know, maybe paint splatter nails are "over," but I still like them and I never claimed to be fashionable!

Paint splatter nails

 
My next attempt may have to be a water marble but that may be a while off - the idea still scares me a little bit! :)