Showing posts with label black. Show all posts

Friday, January 25, 2013

Black, Purple and Yellow Gradient Nails

T.G.I.F!!!! I can't tell you how happy I am that it's finally Friday! This week has been super busy at work and I am really ready for a break, how about you? I wish I had something exciting, or even interesting to talk about but I can hear work calling me and it's not going to shut up until I take care of it! With that said, I hope, in the near future to begin posting more interesting reading for you as opposed to just listing the polishes used and poppin' in a few pictures! I also really want to do video tutorials! They take a lot of preparation though and one of those prep steps involves cleaning my room and I am totally dreading that!
 
I keep seeing these gorgeous gradients all over IG and they make me drool so I decided to do one of my own! It turned out pretty good, I like the color combo, I just hate that my white undies are showing! In hindsight, I could have used the yellow underneath but I hadn't picked out my gradient colors at that point! The white undies is OPI Alpine Snow and the gradient colors are Avon Sunshine, China Glaze Gothic Lolita and a England Camelot. Then I slapped a coat of LA Colors Sassy Sparkle on top. I really wished I had taken pics before I put the glitter on it because I liked it better without it. I really need to get CG Fairy Dust or INM Northern Lights so that I can have a TINY bit of sparkle without overwhelming the design!
 
Black, Purple and Yellow Gradient Nails

Black, Purple and Yellow Gradient Nails
Sorry it wasn't an enthralling read but at least you got what was important, right? Love you all - mwah!

Tuesday, January 22, 2013

Black and White Sugarspun Nails

Happy Tuesday! Where did Monday go?? I feel like I totally missed it this week but I'm not going to complain at all! I decided to try the sugarspun technique and I think it turned out fairly well. I wish I had more time to chitchat but as I'm typing this, the baby is yelling at me!
 
I used one coat of the amazing a England Camelot for the base and Wet 'n Wild Megalast Break The Ice for the "icing"! They kind of look yummy, right? Don't worry, I didn't lick my nails...much.
 
Black and White Sugarspun Nails
 
Black and White Sugarspun Nails
 
Black and White Sugarspun Nails
 
Black and White Sugarspun Nails

Monday, November 26, 2012

The Lazy 15 Mani #11 - Fireworks/Bonfire Night

Helllloooooo Monday! I've got a good feeling about this week, how about you? My husbands birthday was yesterday and for a few weeks he is 9 years older than me - tee-hee! Then my oldest daughter's bday is on Wednesday and she is going to be 6! Then my bday is Dec 11th and then Christmas, whew! It's a crazy time for us with all of that and Thanksgiving as well. Neither my husband nor I get birthday or Christmas presents this year as we got ourselves iPhones and that was not cheap! :)
 
This was kind of a crazy mani and I used a ton of different polishes as well as my new nail art brushes I ordered from ebay - yay! It took a month to receive them from China but they finally got here safe and sound as well as some glequins, yay! Okay, without further ado, here is the mani! I'll list the polishes after the pics because there's so many! :)
Fireworks mani

Fireworks mani
Here's the list!! Lancome Noir, Revlon Royal, OPI Alpine Snow, Bettina Art Deco Yellow and Glamour Flame. LA Colors Sassy Sparkle and a teal glitter (no label). Sally Hansen Insta-Dri Pronto Purple, Pure Ice French Kiss, Sinful Colors Dream On, Nicole by OPI A Million Sparkles, and Sally Hansen Xtreme Wear Celeb City. 8 of those were in my untrieds so yay for that! :)  See you all on Wednesday!


Wednesday, October 31, 2012

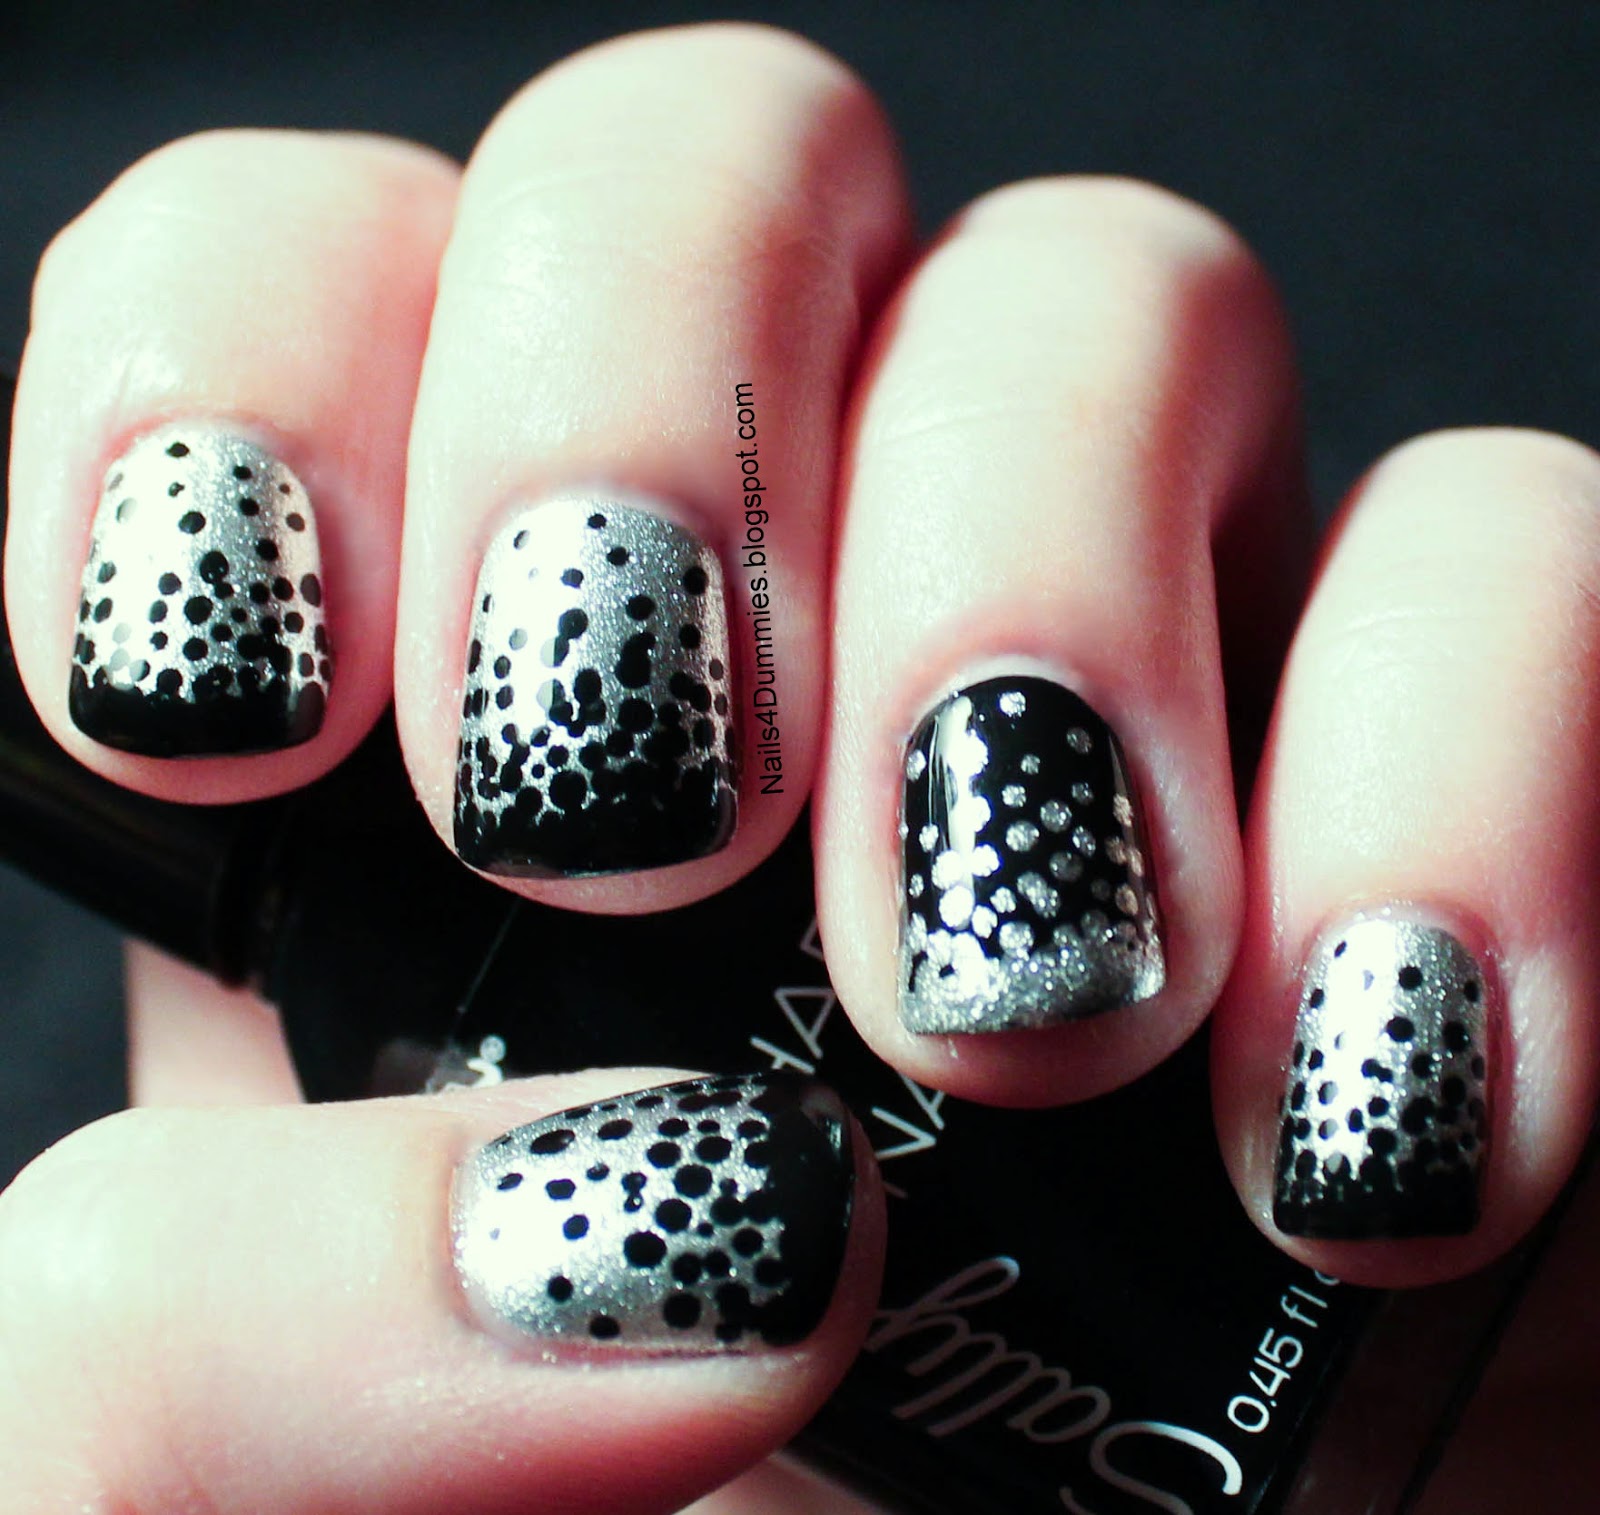
Sophisticated...ME?

 Today's mani was inspired two-fold! Firstly, the design came from the talented Pshiiit blog. Normally I don't bother checking out blogs that aren't in English because the translation tools are terrible but you really should check this one out - her designs are sublime and her photos have a very ethereal feel to them!

My second inspiration comes from the lovely Marta from over at Chit Chat Nails! She has such a sophisticated aesthetic that I find very beautiful but I tend to lean towards bright and whimsical! Be as that may, this felt very "Marta," to me!

The polishes are Sally Hansen Hard As Nails in Black Heart and Sally Hansen Xtreme Wear in Celeb City! I'm very much in love with this one, what do you think, is it me?
 
Pshiiit inspired dotticurePshiiit inspired dotticurePshiiit inspired dotticure
I'm soooo excited for The Lazy 15 challenge to start, I hope you join in too1

Thursday, October 25, 2012

Vampy Stampin' Mani

Hello peeps! Gonna keep this short and sweet 'cause I'm running a bit late this morning! The base for this mani is Color Club By Design which I mattified with Givre Magique by Lancome. Then I stamped on top of that with Noir from Lancome using Mash plate 46
Vampy Stampin' Mani


Vampy Stampin' Mani
Then I just had to check out the whole thing matte and I like it!! I was then planning on using a shiny topcoat and adding some studs but the baby thought mom had already spent enough time on her nails! By morning it was chipped - boooo! That's what I hate about matte top coats, they chip and dent so easily!!
Vampy Stampin' Mani
That's all for today!!

Friday, October 19, 2012

Floating Butterfly Mani

Hello sweet little muffin tins! Sorry, that's one of the nicknames I call my daughters! Today's mani is my first attempt at freehand nail art. It's not awesome but I hope it's not terrible either! It was inspired by a similar version that you may have seen with a bumblebee but I like flutterbys much better!
 
The base of this bit of loveliness is Sinful Colors Cinderella. It's a gorgeous light blue with a pink shimmer that's even better in person! The colors on the butterfly include Wet 'n Wild Black Creme and Sunny Side Up, Pure Ice Free Spirit and Sally Hansen Complete Salon Manicure in Frutti Petutie and Good to Grape.

 The butterfly was so cute and delicate in my mind's eye but came out more like a giant bug on my finger! I didn't think it was enough of a fail to warrant never trying again though so beware, you'll be seeing more freehand from me! Hopefully I'll improve a little!
Sinful Colors butterfly mani

Sinful Colors butterfly mani


Sinful Colors butterfly mani
 
As you can see, I also added some cute little rhinestones because I couldn't just leave the poor thing alone! So did I fail miserably or is it passable for a first try? 

Thursday, October 18, 2012

Hidden Rainbow Mani

Can you believe it? I'm posting again, yayyyy! I had so much fun with this mani. I finally got my striping tape and had to try it out. I also used a cool rainbow effect I found that gives you 6 of the 7 colors of the rainbow (poor, poor indigo!) by only using 3 polishes! WHAT? That's right, if you want to know the secret, check out Simple Little Pleasure's YouTube video. I could seriously lose hours watching this girl do nail art! One of the reasons I love her so much is that she actually talks during her video. I can't stand videos with no talking and awful muzak playing *shudders*!
Hidden Rainbow mani


Hidden Rainbow maniHidden Rainbow mani

The polishes I used are Sally Hansen Complete Salon Manicure Frutti Petutie, Sally Hansen Insta-Dri Lightening, Sally Hansen Insta-Dri Freeze! and Wet 'n Wild Black Creme. after sponging on the rainbow with a tiny piece of makeup sponge (I used a tiny corner for each color), I put down a top coat and let everything dry COMPLETELY! Then I put on some striping tape and put down one thick coat of Black Creme and once I removed the tape I had a gorgeous rainbow! A couple of must-know tips for working with striping tape are to remove the tape immediately after you're done polishing that finger!! Also, it really helped me to have all of my little strips of tape cut and hanging off of the edge of the table ready to go.

I was so ticked off that I fudged up my index finger by bumping it on the table and then my topcoat issues ruined the whole dang thing. I tried to use my gloopy one first and it left big dents and wouldn't spread so I tried my el cheapo Wet 'n Wild topcoat that I got for free to smooth it out, big mistake. That topcoat sucks. It never dries and it isn't very shiny so I was left with a bubbly dull mess, *SIGH*. Oh well, you live and you learn, now I only use that topcoat for applying rhinestones and fimo cane!

Friday, October 5, 2012

Stampin' Stars Mani

Happy Friday everyone!! I am soooooo ready for the weekend. I have had way too much work to do and am totally burnt out! I had so many ideas of what mani to do today but I just kept running out of time because the baby decided she wanted to be with me every second of the day! Of course, I had to oblige her and we spent most of the day cuddling :) So first I put down a black base. There's something so awesome about a super glossy black polish and this is my favorite right now. It's Sally Hansen Hard As Nails in Black - creative, right? It goes on so nicely and only takes one coat for perfection! I had to take photos of it with just the black because it was so pretty, do you want to see? Too bad - here you go!


Sally Hansen Hard As Nails BlackSally Hansen Hard As Nails Black


Then I really struggled with what I wanted to do on the black base. What I finally settled on were some Mash plate stars stamped in Pronto Purple. I love the way it looks. It may not be exciting but it was still cool! So that's what I'll apologize for this time I guess, because it's not very exciting!
Sally Hansen Insta Dry Pronto Purple stamp mani

Sally Hansen Insta Dry Pronto Purple stamp mani
I'm going to try and give the baby another pedi today and maybe have the pics up tomorrow, we'll see if she's up for it and if I'm feeling patient enough! :) Oh, and I forgot to watermark these photos but I didn't want to delete them and do it late at night so if you steal it I will curse you. I will curse you so hard. I will also send my minions after you - so don't steal!